Last updated November 22, 2026
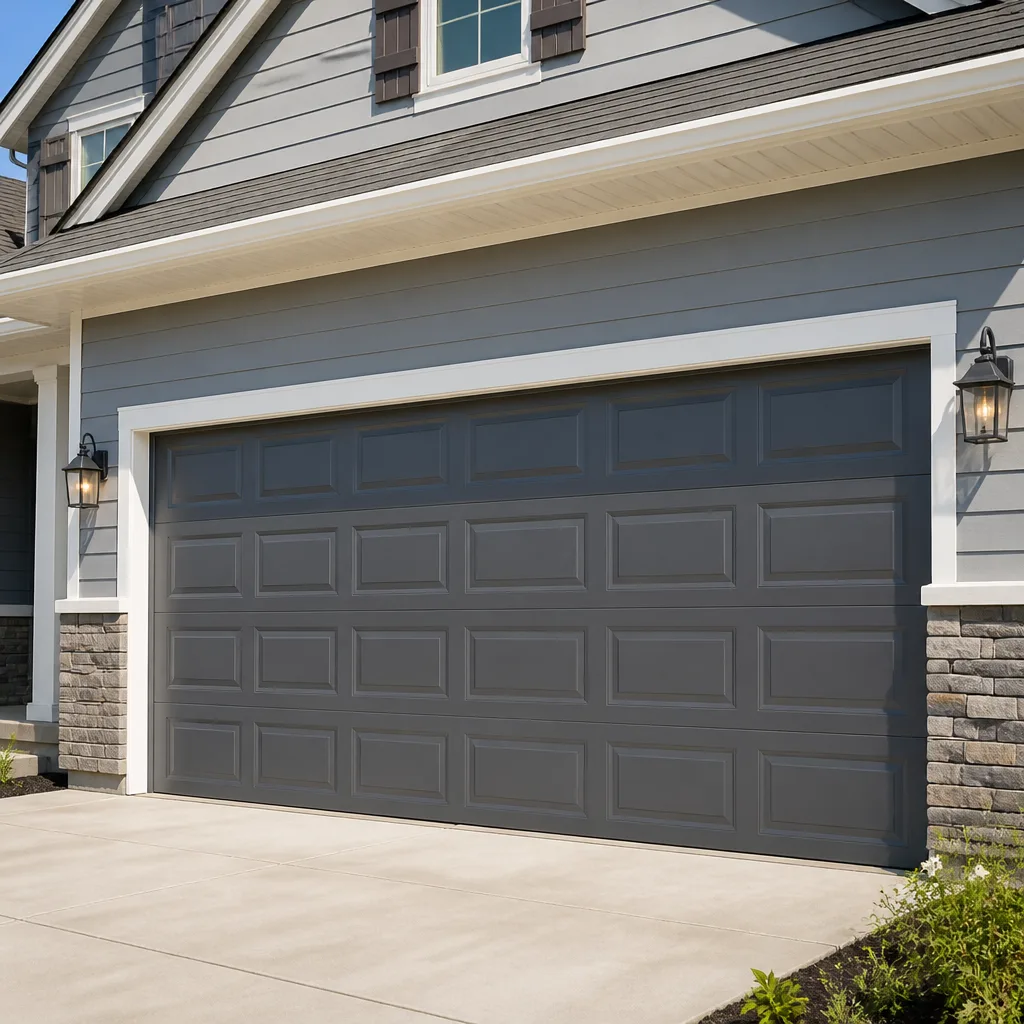 Raised-panel steel
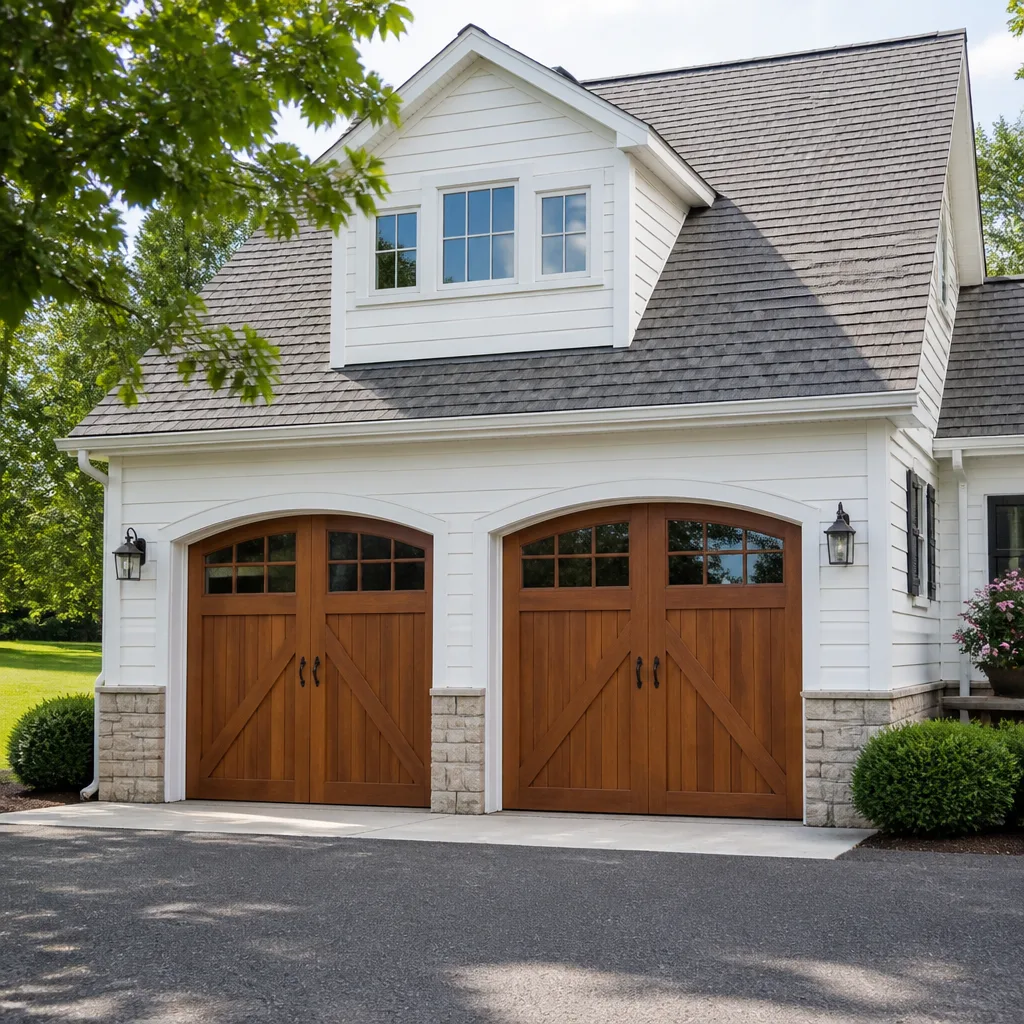 Carriage house
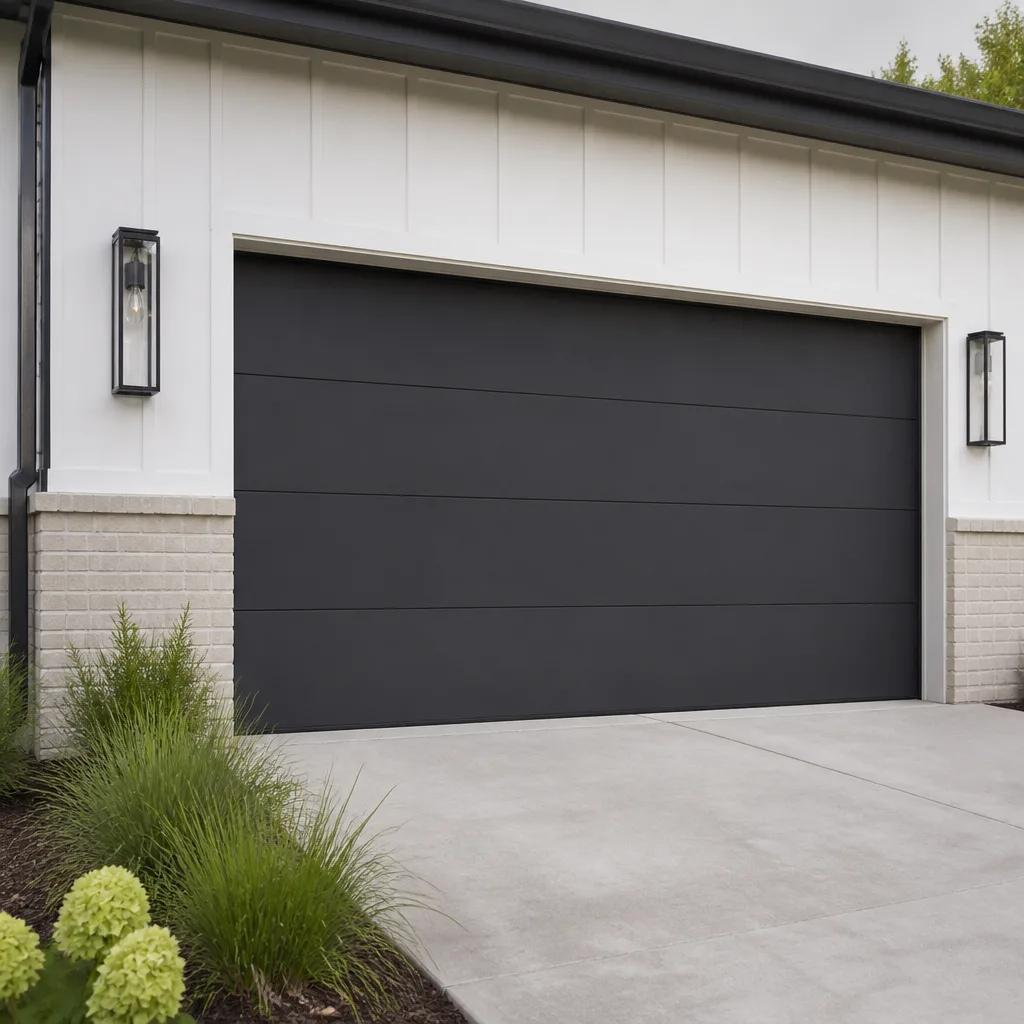 Modern flush
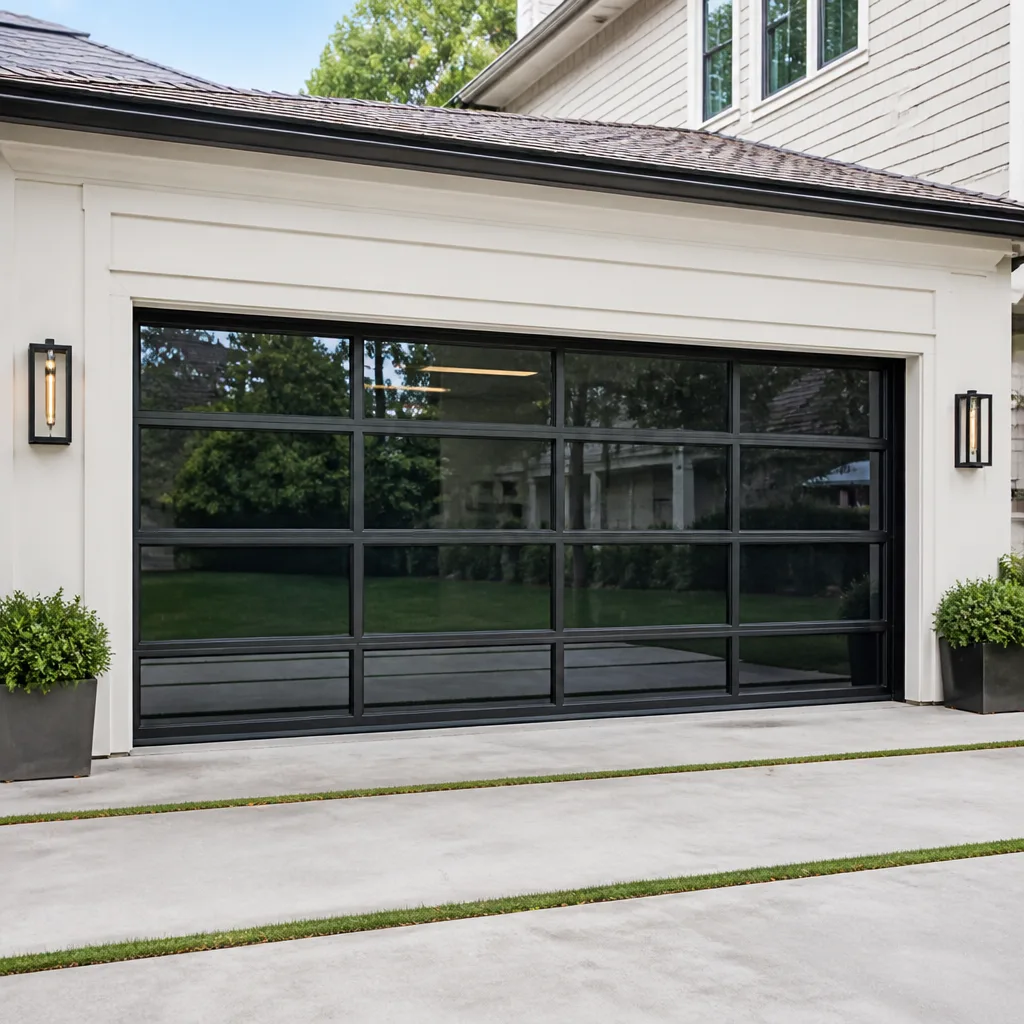 Full-view glass
 LiftMaster openers
 Chamberlain openers
Full 25-point door and opener safety check with every visit - springs, cables, rollers, tracks, and your LiftMaster or Chamberlain opener included
You get a price before we start. It does not change when the pro arrives.
Get your free estimateDIY vs Professional Garage Door: The Framingham Homeowner’s Decision Guide
Most garage door advice online splits into two camps, and both are wrong for Framingham homeowners. One camp says every repair is a DIY job with a screwdriver and a Saturday. The other says never touch a torsion spring, buy the extended warranty, and call a specialist for everything including a squeaky roller. The truth is more useful and more specific: a handful of garage door tasks are genuinely safe and worth doing yourself, and a small number are genuinely dangerous no matter how handy you are. Torsion springs store enough energy to cause serious injury when they release without warning. That’s not a liability disclaimer, it’s physics, and it’s the fact that should anchor every DIY decision on a door. This guide lays out which tasks fall on which side, what the tools actually cost, and how to handle the middle ground.
Quick Answer
Safe DIY garage door tasks include sensor alignment, lubrication, weatherstripping replacement, and keypad programming. Leave spring and cable work, track realignment caused by a bent door, and any structural header issue to a trained specialist, because those jobs can cause serious injury or property damage when they fail. Installing an opener is the middle case: some homeowners can handle the mechanical work, but it’s not a first-time job. For anything in the danger column, call Framingham Garage Door Repair Pros at (877) 665-1930 for a free estimate.
Styles & brands we work with
- Raised-panel steel
- Carriage house
- Modern flush
- Full-view glass
- LiftMaster openers
- Chamberlain openers
Table of Contents
- The One Fact That Should Decide Every DIY Choice
- What’s Actually Safe to Do Yourself
- Why Spring Replacement Is Not a Homeowner Job
- Cable Replacement: The Second Job That Looks Easier Than It Is
- The Cost Reality Check: When DIY Saves and When It Doesn’t
- The Middle Ground: Openers, Tracks, and Where to Stop
- What a YouTube Video Misses About Your Specific Door
- Framingham-Specific Context: Climate, Garage Age, and What Fails Here
The One Fact That Should Decide Every DIY Choice
A torsion spring works like a wound clock spring the size of a wine bottle. It’s coiled under tension to counterbalance the door, sometimes a couple hundred pounds of it. When a spring fails, it doesn’t dimmer down; it releases all of that stored energy in an instant, along with a tool or metal rod a homeowner may have been holding. Extension springs above the door are a separate system but carry the same problem, and they carry an extra one: they can snap toward a person standing underneath instead of staying on their track.
This physical reality is why the DIY question isn’t about skill level. A capable homeowner with good tools can absolutely do many garage door jobs. They can also be a capable homeowner with good tools and no safe way to manage a wound torsion spring. The skills don’t transfer, and the danger doesn’t scale down if you do it slowly or carefully. Slow and careful is a good approach to a lot of things; it doesn’t stop a spring from releasing.
In our experience working on doors across Framingham, the jobs that come from a home repair that didn’t go right almost always involve spring work or cable work. Those two are the hard line in this guide. Almost everything else is negotiable.
The picture gets clearer if you sort every garage door job into three buckets:
- Green: adjustments and maintenance. Safe for a homeowner with basic tools and a ladder.
- Yellow: mechanical work that’s involved but not inherently dangerous, like opener swaps. Doable for a confident DIYer who reads the whole manual first and knows when to stop.
- Red: stored energy, tension, and structural work. Not a homeowner job, regardless of experience.
The rest of this guide works through all three buckets, then talks about cost. That order matters, because cost only matters after you know which bucket a job is in.
What’s Actually Safe to Do Yourself
A meaningful chunk of garage door service calls, particularly in Framingham, are jobs a homeowner could have done in an afternoon. The door was “acting up” until someone checked the safety sensors or opened a jammed lock. Here’s what falls squarely in the green zone.
Safety sensor alignment. The two photocell sensors near the floor should see each other across the opening. If a door reverses for no obvious reason, the first thing to check is whether one sensor has been nudged, or whether something has slid in front of it. A sensor that’s knocked out of line by a kid’s bicycle is one of the most common “emergency” calls, and it’s usually a two-minute fix.
Lubrication. A garage door has rollers, hinges, and a track that benefit from a proper lubricant once or twice a year. Skip anything sticky and use a garage door lubricant, not WD-40, which is a solvent more than a lubricant and will attract dust. Dry silicone spray on the tracks and a lithium or white lithium grease on hinges and rollers is the standard approach. Massachusetts winters make this one more important than it looks: cold slows grease down, and doors that ran fine in October can be noticeably noisier and stiffer by January.
Weatherstripping. The rubber or vinyl seal around the perimeter of the door is one of the cheapest and most homeowner-friendly jobs on a garage. It fails quietly with age, letting in drafts and rain, and replacing it is a matter of pulling the old strip and sliding on a new one, or attaching a new bottom seal to the door if it’s the threshold style. It’s also one of the few garage jobs with an energy benefit, since a gap at the bottom of the door defeats a lot of insulation work above it.
Keypad and remote programming. Reprogramming a keypad, pairing a new remote, or clearing old remotes off a garage door opener is a manual-reading exercise with no physical risk. LiftMaster, Chamberlain, Genie, and Craftsman openers all have slightly different methods, and the manual or manufacturer’s site has the exact sequence. This is also the easiest way to learn your opener’s brand and model, which helps if you ever do need to call someone.
Visual inspection. Once or twice a year, with the door closed, look at the springs and cables. A torsion spring with a visible gap or a broken winding is a broken spring. A frayed cable is a cable that needs to be replaced by someone who knows how. Checking and then knowing when to call is not a DIY repair, it’s just being an informed homeowner.
Why Spring Replacement Is Not a Homeowner Job
Search for “garage door spring replacement” and you’ll find plenty of videos and step-by-step guides. What those guides usually leave out is that the most dangerous step isn’t turning a wrench. It’s controlling the tension before you touch anything, and controlling it again when the new spring goes on. That requires two properly sized winding bars, a clear understanding of which way the spring winds, and enough experience to feel when something is wrong and stop. None of that transfers from a video, and none of it forgives a mistake.
Here’s what actually goes wrong when a non-specialist attempts spring work:
- Using the wrong bars. A screwdriver or socket extension in the winding cone is the most common one. It can bend under load or slip out, and the spring releases the entire stored energy in the fraction of a second it takes to come loose.
- Winding the wrong direction. Torsion springs are wound left or right depending on which side of the door they’re on. Wind the wrong way and the door is weighted against the spring, which puts the whole assembly under more load instead of less.
- Mismatched springs. Springs come in wire sizes, inside diameters, and lengths that have to match the weight of the door. Two “similar looking” springs can be unbalanced, and an unbalanced door runs heavy on the opener and wears out fast.
- Releasing tension the wrong way. The removal step looks like the install step in reverse, but the sequence matters. Get it out of order and the spring unwinds suddenly.
The cost of this one is a mixed story, and it’s worth being honest about it. A torsion spring replacement done by a specialist in the Framingham area typically runs somewhere in the range of $180 to $340 for a single spring, and since matched pairs are usually replaced together, a pair costs roughly twice that. The spring itself may cost less than a quarter of that at a supply house. So there’s real money to be saved in theory. But this is the one job where the tool cost (two proper winding bars), the risk of injury, and the chance the door is left unbalanced and the opener prematurely worn all stack up. In our experience, spring work is the job that most often lands a homeowner in the emergency room, or on the phone with a more expensive contractor because a DIY attempt went wrong. Springs are dangerous. Let a specialist handle it.
When the door is stuck, broken, or won’t move, the quickest next step is an garage door repair visit rather than a home experiment.
Cable Replacement: The Second Job That Looks Easier Than It Is
The lift cables are the second danger zone. These are the steel cables that run from the bottom corners of the door up to the drum on the torsion shaft (or the pulleys for extension springs). They’re under tension whenever the door is under any load, which is basically always. A cable that fails under load whips, and a homeowner standing next to it can be hurt.
The DIY videos on cables are misleading in a specific way. They usually show a door that’s already been de-tensioned, or they start after the springs have been released. The dangerous part, releasing and re-tensioning the cables in a controlled way, is often skipped or assumed. Cables also fail at the crimp or at the drum, and knowing which end to look at and why is experience talking, not a manual.
There’s also a structural issue that comes with cable replacement. A cable that’s failed is often the first thing that goes wrong after something else does, meaning the cable wasn’t the problem, it was a symptom. A bent shaft, a worn drum, a sagging bottom bracket, or a door that’s out of square can all put load on a cable that it wasn’t designed to handle. Replacing the cable and walking away doesn’t solve the underlying problem, and the next cable fails shortly after. This is why a cable call is a job where a professional’s ability to look at the whole system matters, not just the broken part.
If a cable is frayed, snapped, or visibly detached from the door, don’t run the door. Don’t try to “help” it up or down with the opener. Call us and we’ll send someone. This is one of the few garage situations where moving the door at all makes things worse.
The Cost Reality Check: When DIY Saves and When It Doesn’t
Homeowners often ask whether DIY saves money. The honest answer: on some jobs, a lot; on others, nothing at all once tool cost is factored in; and on a few, DIY ends up more expensive because of the follow-up repair. Here’s how the math works out across the common garage door jobs.
- Safety sensor alignment: DIY saves nearly the entire service visit. The fix is usually free or under $10 in parts, versus a service call for a technician to do the same thing.
- Lubrication: DIY saves the service call, and a can of proper garage door lubricant lasts years. This is one of the clearest wins.
- Weatherstripping: DIY saves labor, but the savings are modest once you buy the right strip for your door type. Pay attention to the door thickness and the track style, and buy the correct product the first time.
- Keypad and remote programming: DIY saves the visit easily. The only cost is the replacement remote or keypad.
- Opener replacement: This is where it gets interesting. A DIY opener swap saves meaningful labor, but requires a second person, the right tools, and a willingness to stop at electrical work you’re not comfortable with. A wrong opener size or a bad force adjustment can wear out the door.
- Spring replacement: DIY saves the labor, but two proper winding bars cost real money and aren’t something you’ll use again. The risk of injury is the real cost. In our experience, the “savings” evaporate if the door ends up unbalanced or the job gets abandoned partway.
- Cable replacement: DIY savings exist on paper, but the chance of an underlying issue going undiagnosed makes the true cost hard to predict. This is one to price out with a professional.
Add it up and the picture is clear: the inexpensive tasks are the ones you can safely do, and the expensive tasks are the ones with danger or hidden complexity attached. That’s not a coincidence. The work that seems like it should cost more is the work that can hurt you.
For a broken spring that has stopped the door, that’s a same-day call. For a full replacement or a new door, it’s a measured project with a written price before anything is ordered. Different urgency, different process. If you’re comparing options across a few different problems right now, a specialist who does repair, opener work, spring work, and installation is the one call that covers all of them.
The Middle Ground: Openers, Tracks, and Where to Stop
Some jobs aren’t dangerous, but they aren’t simple either. The opener is the best example. A confident DIYer can absolutely install a garage door opener. They can also get halfway through and discover the new unit is the wrong size for a door that’s heavier than the old opener assumed, or the header bracket location doesn’t work with the existing ceiling, or the safety reversal adjustment doesn’t pass and needs re-tuning. That’s not a failure of effort; it’s the middle ground being the middle ground.
If you’re going to attempt an opener swap, here’s a numbered walkthrough of the parts that matter most:
- Confirm the new opener’s ratings match the door. Look at the door’s weight, not just its size, and make sure the opener’s lift capacity and door type match. Liftmaster, Chamberlain, Genie, and Craftsman all have weight ranges; ignore them and the opener wears out the door or itself.
- Read the whole installation manual before you start removing anything. Not skim. Read. The manual covers rail assembly, ceiling brackets, and safety reversal in an order that matters.
- Identify the electrical connection early. If the opener needs a new outlet or the existing line is questionable, that’s the point to stop and bring in an electrician or a garage door specialist. Work on an existing electrical circuit is a safety line, not a skill line.
- Set the safety reversal with the door present and connected. The opener is adjusted after the door is hung, using the actual door. A pre-set unit on the bench won’t match.
- Test the reversal and the force settings before you use the door for real. Put a board or a small object in the door’s path and confirm the door reverses. Test the force settings on both opening and closing.
Track alignment is a similar story. A track that’s been bumped by a car and is slightly out of square can be straightened by some homeowners, but a track that’s bent because the door came down hard is a sign of a bigger problem. Straightening a bent track on a loaded door is exactly the kind of thing that goes from “adjustment” to “release” without warning. The basic rule: adjust tracks only when the door is on the ground and not under spring tension. If that’s not the situation, it’s a call.
When you do call, a garage door opener repair visit covers both the unit and the way it interacts with the door. Openers are just one piece. If it’s the door itself, start with the repair page. And when the decision is a new door entirely, a garage door installation begins with a measure and a written price, not a same-day promise.
What a YouTube Video Misses About Your Specific Door
Garage door videos are usually filmed on a clean, newer, single-car door with a well-known brand. Real doors in Framingham are more varied: different ages, different tracks, a mix of Clopay and Amarr doors alongside original equipment from decades back, and openers from LiftMaster, Chamberlain, Genie, and Craftsman that all handle installation and adjustment a little differently. A video that works on its door won’t necessarily tell you when your door is different.
Here’s what the video almost never covers:
- Door weight. A single-car steel door and a two-car insulated door weigh very different amounts, and the springs and opener have to be matched to that. Two doors that look identical from the street can have completely different spring setups.
- Previous repairs. A door that’s had a panel replaced, a hinge swapped to the wrong size, or a track re-drilled won’t take a “standard” adjustment. A video assumes factory-original hardware.
- Brand-specific quirks. An Amarr door and a Clopay door can have different panel profiles, hinge positions, and track shapes. It matters at the part level. Chamberlain and Genie openers differ in rail design, force adjustment, and sensor behavior in ways the manual explains but a video often doesn’t.
- What the door is doing when it fails. A door that won’t close is a different diagnosis from a door that closes and then reverses. The symptom tells a trained technician where to look; a video tends to treat all “not closing” as the same issue.
- When to stop. The most valuable thing a video misses is the point at which a DIY attempt has gone from an adjustment to a structural problem. A visual on the screen can’t tell you your door is out of square; a trained eye can.
None of this is a reason not to watch a video for the safe tasks in this guide. It’s a reason to be honest about when a video has stopped being about your door. If you’ve watched three videos and the symptom doesn’t match any of them, that’s a call. If you’ve started a repair and it looks different in real life than it did on screen, that’s also a call. Framingham Garage Door Repair Pros is here for that moment, and we’d rather you call than push through.
Framingham-Specific Context: Climate, Garage Age, and What Fails Here
Framingham garages live through real winter. That has a few practical effects on the DIY-vs-professional question, and it helps to know what’s seasonal and what’s actually failing.
Cold and doors. Garage door springs are under more stress in cold weather, and grease thickens. A door that runs smoothly in Framingham summers can feel stiff and noisy in January, and the extra strain can push an older spring toward failure. If a garage door gets noticeably harder to lift by hand or the opener sounds strained in winter, that’s a signal to have it checked before something breaks, not a reason to force it.
Snow and ice at the door. A bottom seal that’s cracked or hanging loose lets in water, and that water freezes. The result is often a seal that gets torn up as the door opens, or a door that won’t close flush because ice has built up in the track. Replacing the bottom seal before the first freeze is an easy DIY job that saves a service call. Cleaning the tracks of debris is another.
Older homes and heavier doors. Framingham has a wide range of home ages, and older garage doors are often heavier, wood rather than steel, with hardware that’s been patched over the years. Those are the doors where a “standard” DIY adjustment runs into non-standard hardware. They’re also the doors where a trained eye for the whole system matters most, because the symptom rarely points to a single failed part.
Neighborhood pace. Around Framingham, a lot of homes have a garage that’s used many times a day, and that use is what wears out springs, cables, and openers. The wear is ordinary; the response should be calibrated to it. Keep up the safe maintenance, watch for the early warnings (noise, sluggishness, a door that reverses), and treat the dangerous items as calls, not projects. That’s the whole discipline. For urgent situations, our emergency garage door service is a real service line, not a next-week appointment.
Common Mistakes to Avoid
- Treating a spring replacement like any other home repair. The videos make it look like turning a bolt, but the tension is the job. If you don’t have the right winding bars and a real understanding of which way the spring winds, don’t start.
- Using a screwdriver or socket extension as a winding bar. It bends or slips under load, and the spring releases. This is the most common cause of spring injuries, and it’s almost entirely preventable by renting or buying the correct tool or calling a specialist.
- Assuming every opener installs the same way. LiftMaster, Chamberlain, Genie, and Craftsman openers have different rails, sensor setups, and force adjustments. Reading your specific manual is not optional.
- Ignoring a frayed cable because the door still opens. A frayed cable fails without warning, often within days. If you can see broken strands, stop using the door.
- Straightening a track while the door is up. Tracks should only be adjusted when the door is fully closed and not under tension. Adjusting a loaded track is how a routine job turns into a dangerous one.
- Skipping the February lubrication. Framingham winters are hard on grease and seals. A few minutes of dry silicone on the tracks and proper lubricant on the hinges goes a long way.
- Treating a reversing door as an electrical problem first. Check the safety sensors and the alignment first; it’s the most common cause, and it’s the safest fix to try. A door that keeps reversing after sensor alignment is a call.
See the difference
 Before
 After
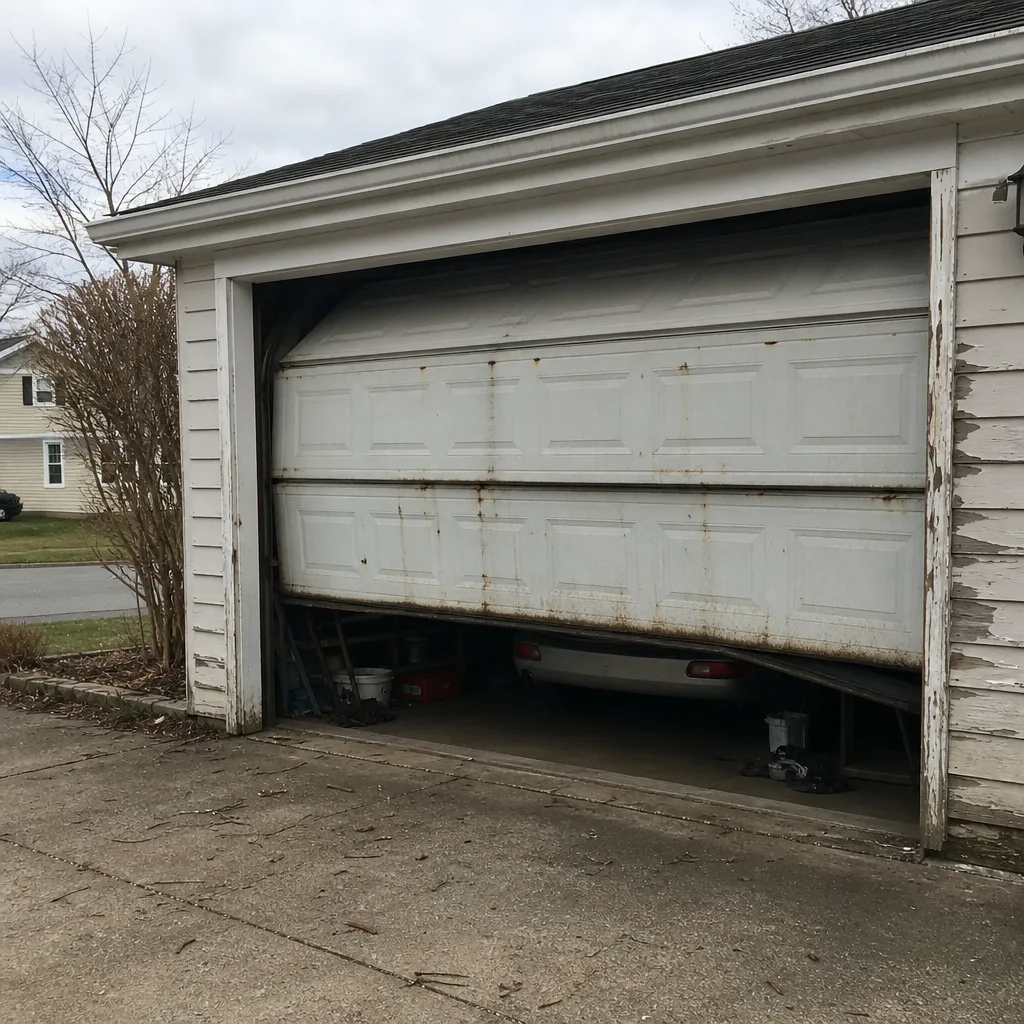 Before
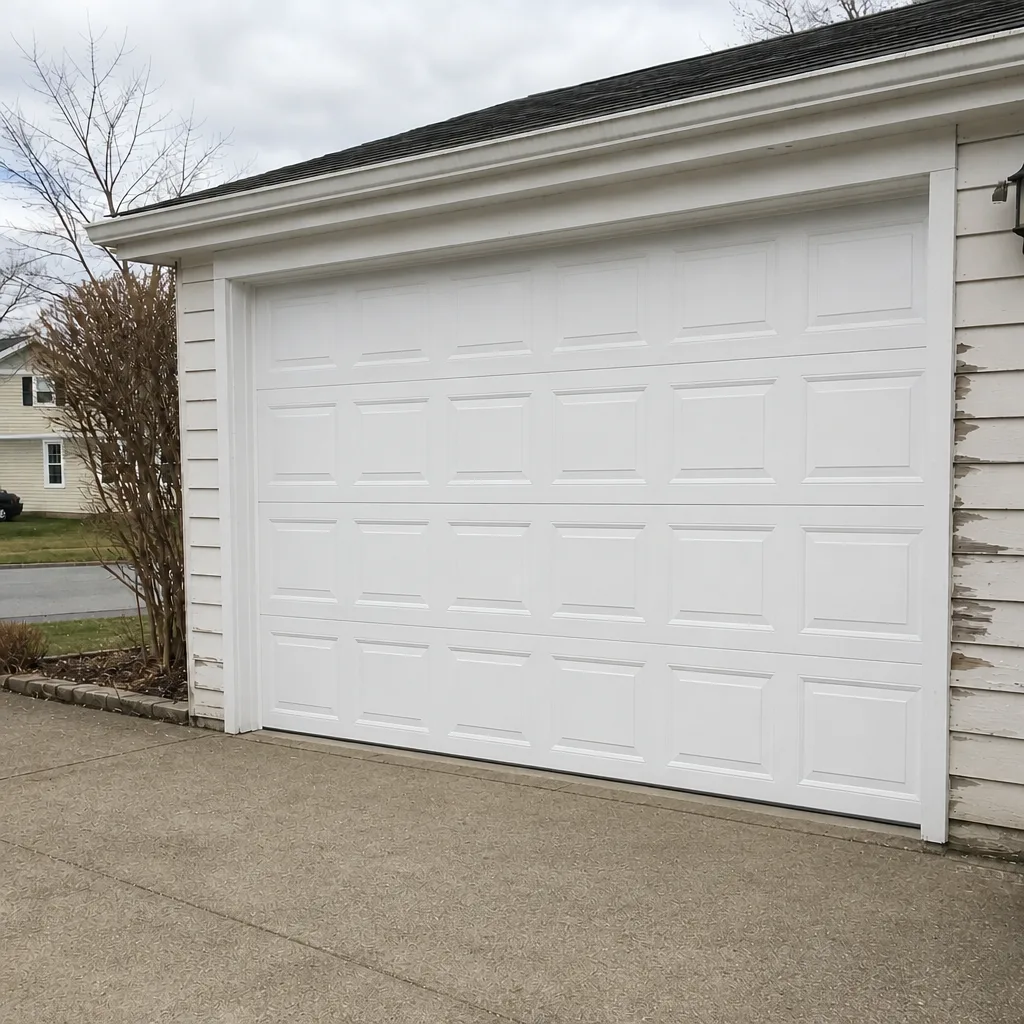 After
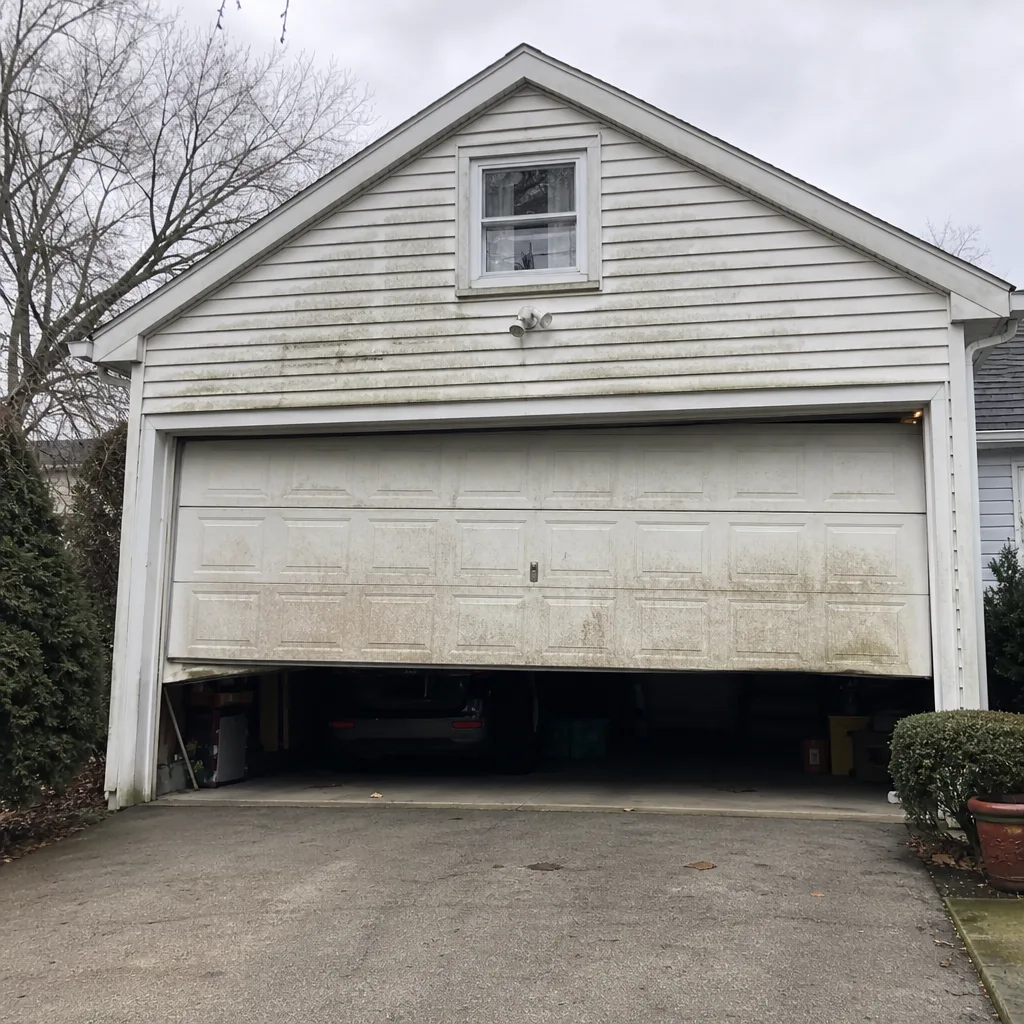 Before
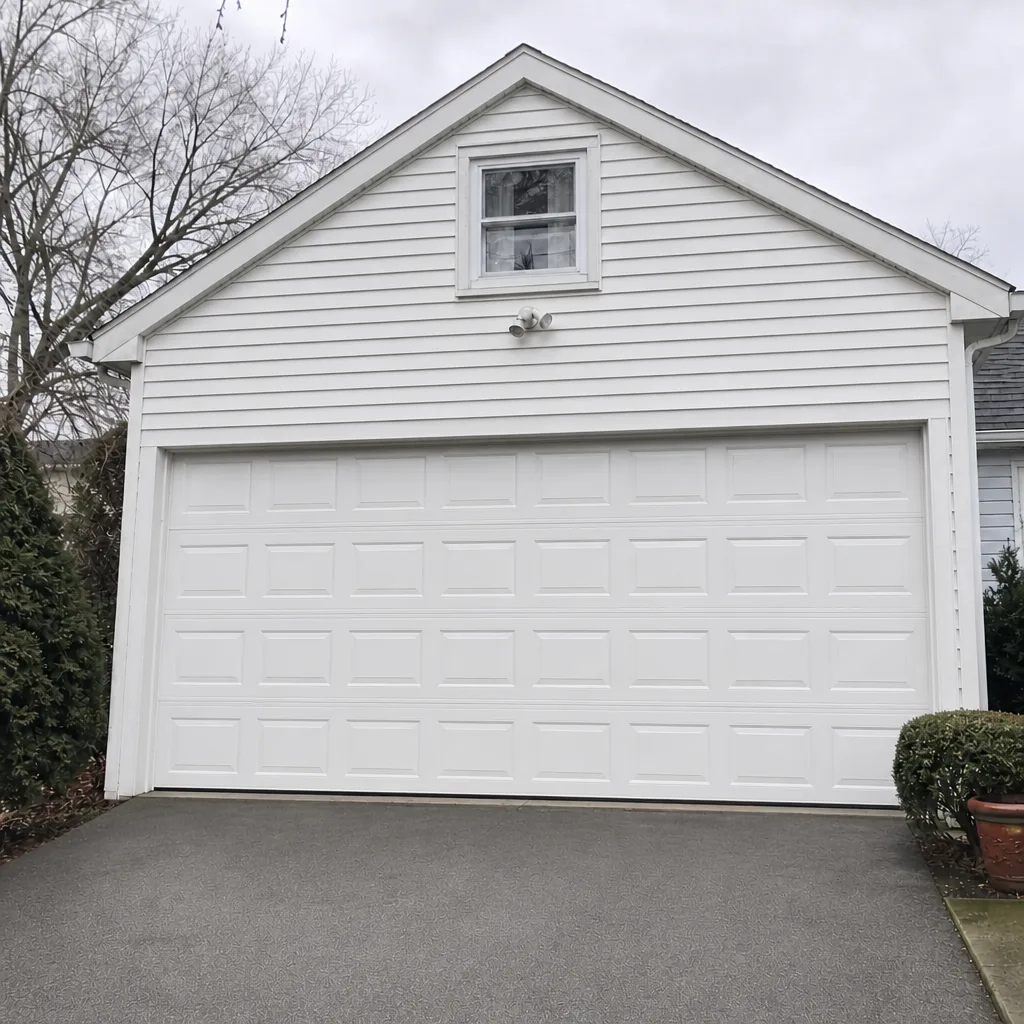 After
When to Call a Professional
Call a specialist for anything involving spring tension, cable tension, a bent or damaged track, a door that’s out of square, and any structural question about the header or the framing around the door. If the door has been hit by a car, if a panel is damaged in a way that involved the frame, or if the door has stopped moving and you can’t see an obvious cause, that’s a call. If you’ve started a repair and have reached a step you’re not sure about, that’s also a call. Stalling with the door in a partial state is more dangerous than stopping early. And if a garage door won’t close and the house is exposed, or a door is stuck and you can’t move it safely, our emergency service exists for exactly that. Framingham Garage Door Repair Pros offers free estimates in Framingham. Call (877) 665-1930. The price is quoted and agreed before any work starts, so there’s no surprise on the bill afterward.
One more, specific to the season: if a door fails and you need someone outside the usual day, call and we’ll book you for early mornings or Sundays. We’re closed on Saturday. If you work all week and can’t be home, tell us when you call and we’ll figure out the earliest slot that works.
Frequently Asked Questions
No. Garage door springs store enough energy to cause serious injury when they release, and replacing them requires the right winding bars, the right technique, and the right matching of spring to door weight. This is the single most dangerous repair on a garage door. Call a specialist.
Typical estimates in the Framingham area run about $180 to $340 for a single spring, and since springs are usually replaced as a matched pair, a pair typically costs roughly twice that. The written estimate sets the final price and is agreed before work starts. Call (877) 665-1930 for an exact quote; estimates are free.
Yes, if you use the right product and stay off the springs. Use a dry silicone spray on the tracks and a garage door lubricant on hinges and rollers. Avoid WD-40, which attracts dust and does more harm than good over time. Keep your hands off the springs and cables completely.
Often, yes, if you read the manual for your specific opener and know when to stop at the electrical connection or if the door weight doesn’t match. Openers from LiftMaster, Chamberlain, Genie, and Craftsman all install slightly differently, and the safety reversal must be set on the door itself, not on the bench. If the door is older or has been patched, a specialist is the safer call.
The most common cause is the safety sensor alignment near the floor. Check whether either sensor has moved, been bumped, or been blocked. If the door still reverses after the sensors are aligned, that’s a call, because it could be a force setting, a bad opener, or a binding door.
The written estimate you agree to is the price. If a technician sees a bigger issue once the door is opened up, the practice is to stop and talk to you before doing additional work, not to add it to the bill. You approve any change first.
The Bottom Line
DIY is the right call for the safe tasks and the wrong call for the dangerous ones, and the line between them isn’t a matter of confidence. Sensor alignment, lubrication, weatherstripping, and keypad programming are worth doing yourself. Springs, cables, loaded tracks, and structural work belong to a trained specialist. The cost math supports that: the jobs with real danger attached are the ones where DIY is most likely to go wrong and least likely to save money once it does. If you’re not sure which side a job is on, that’s the moment to call. Call (877) 665-1930 for a free estimate. Garage doors are all we do.
Written by the team at Framingham Garage Door Repair Pros.