Last updated November 22, 2026
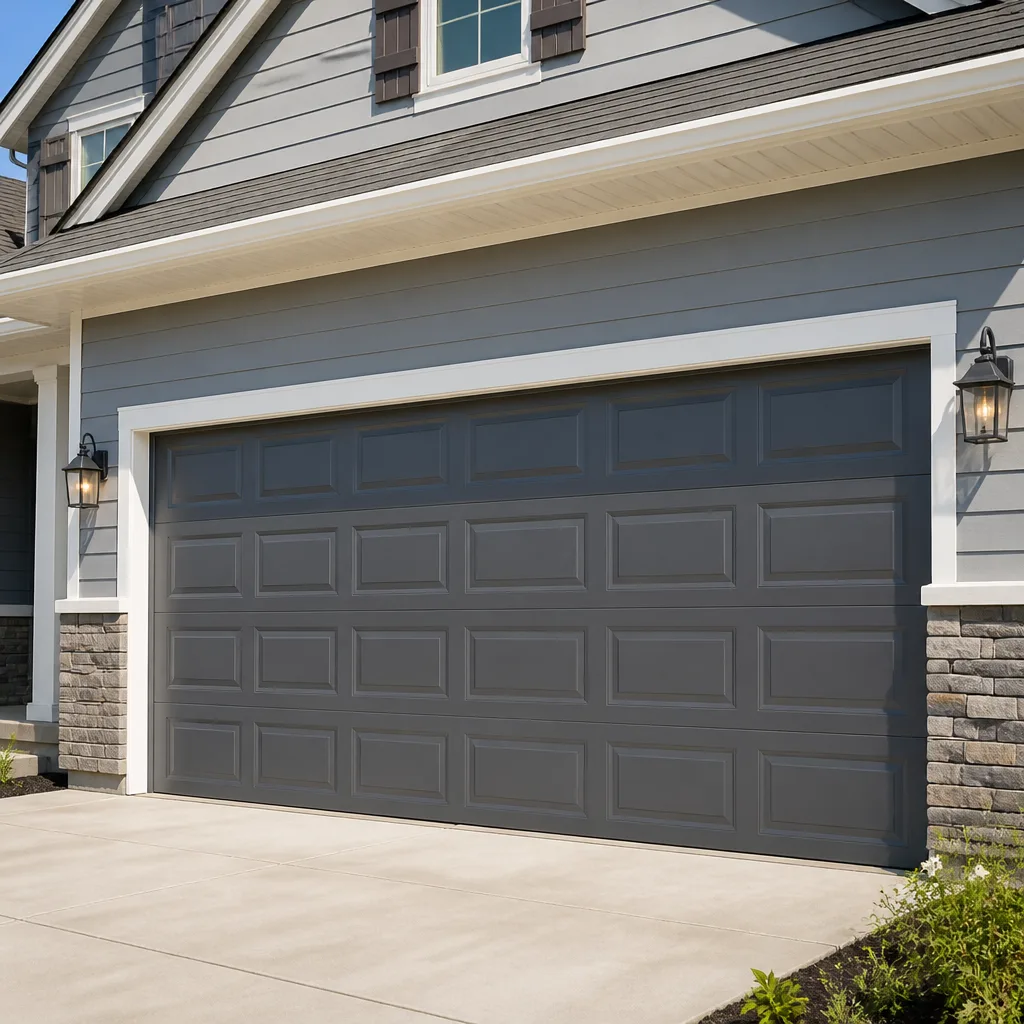 Raised-panel steel
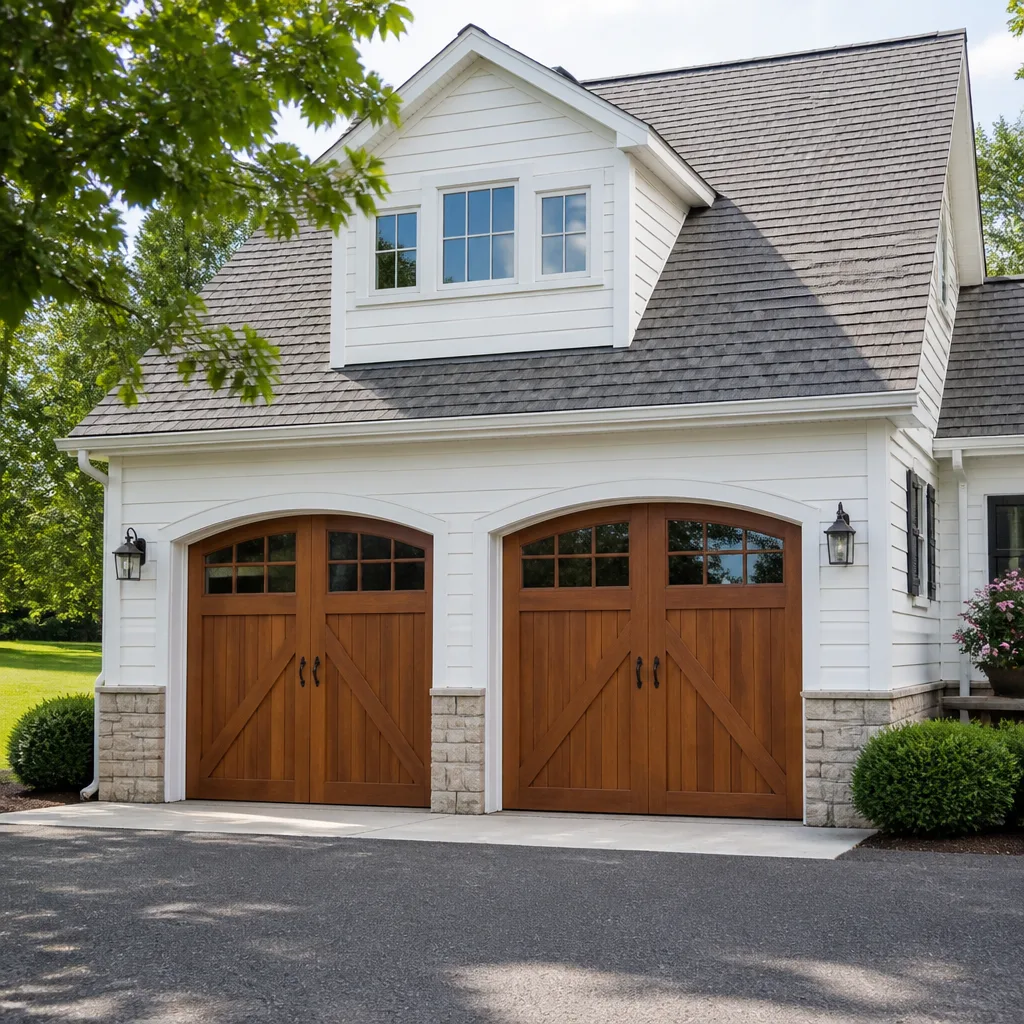 Carriage house
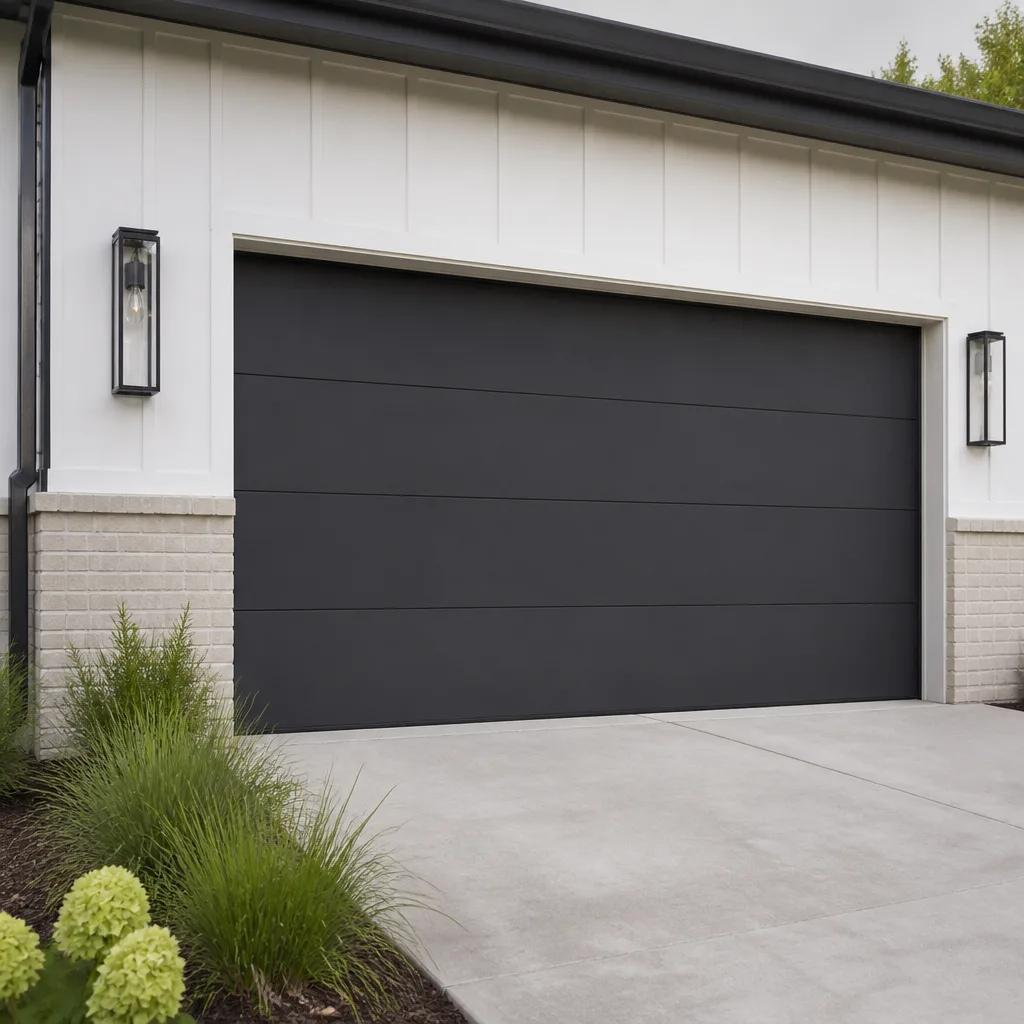 Modern flush
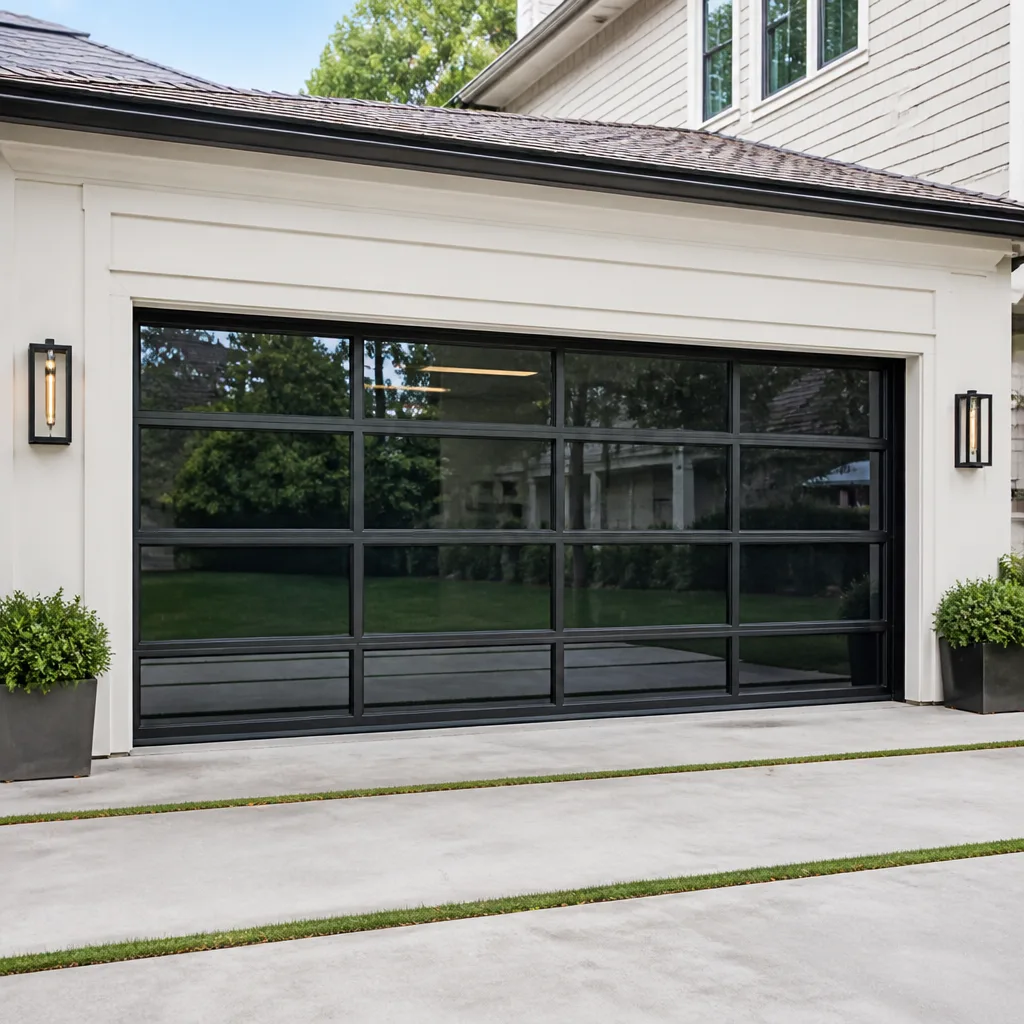 Full-view glass
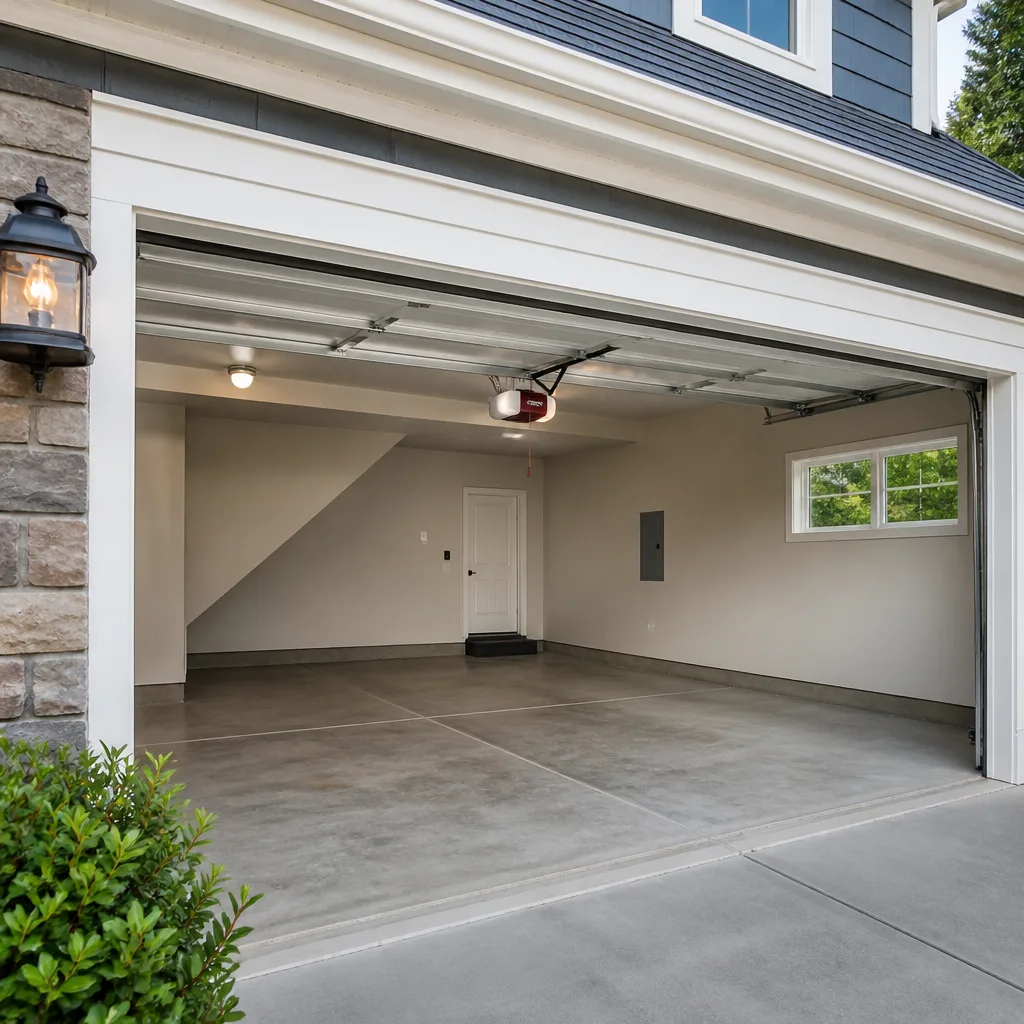 LiftMaster openers
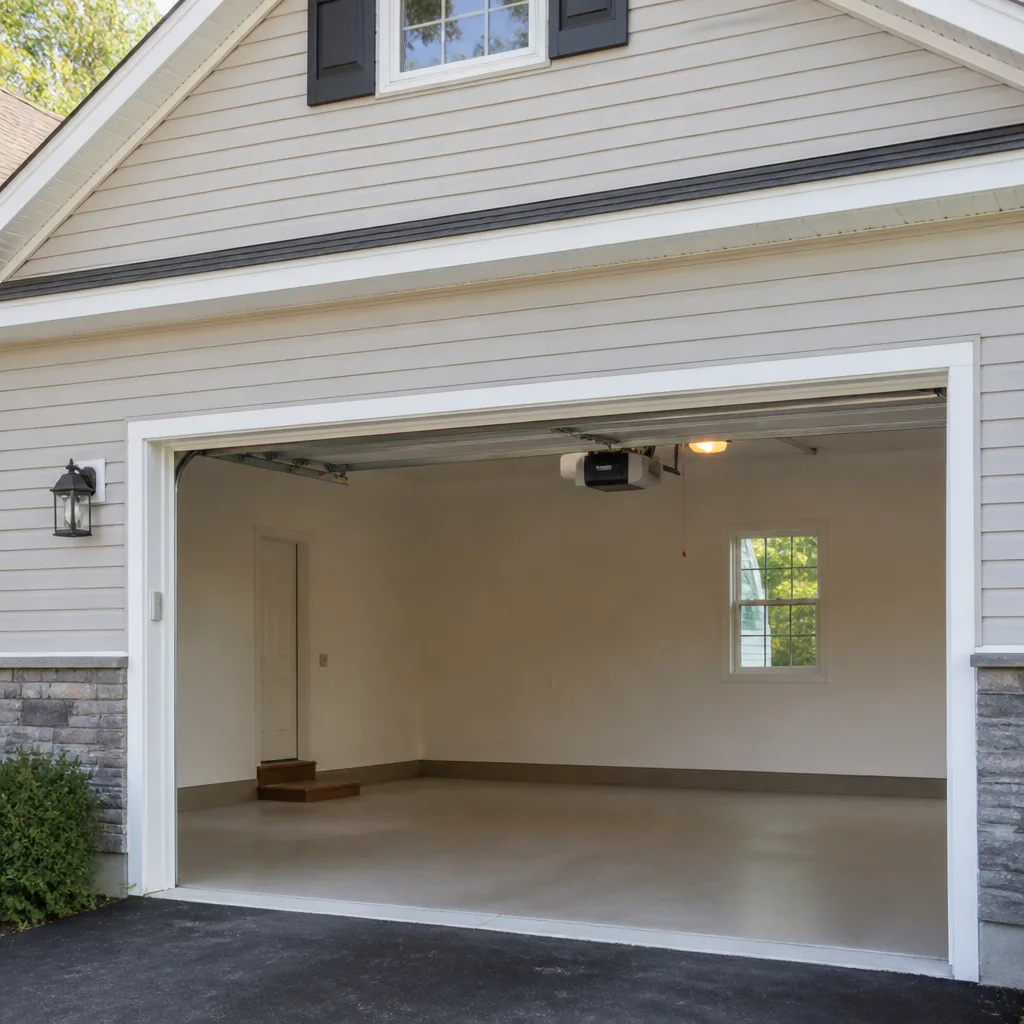 Chamberlain openers
Full 25-point door and opener safety check with every visit - springs, cables, rollers, tracks, and your LiftMaster or Chamberlain opener included
You get a price before we start. It does not change when the pro arrives.
Get your free estimateGarage Door Repair Troubleshooting in Framingham: Common Problems and How to Fix Them
A garage door is the heaviest moving object in your home, yet most troubleshooting guides treat it like a sticky window. The first step isn’t grabbing a wrench. It’s figuring out which of four distinct failure zones is actually responsible, because a grinding track and a grinding opener sound almost identical from the driveway but need completely different fixes. In Framingham, where freeze-thaw cycles hammer the door twice a year and the humidity off the Sudbury River reservoir works on every steel edge, that sorting step matters even more. This guide gives you a four-zone diagnostic framework, a symptom lookup, the two adjustments you can safely make and the two you should never touch, and a clear line for when to call.
Quick Answer
Garage door problems fall into four zones: the spring and cable system, the track and hardware, the opener and electronics, and the door panels themselves. You can safely adjust opener limit switches and force settings, and you can clean and lubricate tracks. You should never touch torsion spring tension or rewind a cable; those carry enough stored energy to cause serious injury and belong to a trained technician. Match your symptom to a zone first, then decide.
Styles & brands we work with
- Raised-panel steel
- Carriage house
- Modern flush
- Full-view glass
- LiftMaster openers
- Chamberlain openers
Table of Contents
- The Four-Zone Diagnostic Framework
- Zone 1: Springs and Cables
- Zone 2: Tracks and Hardware
- Zone 3: The Opener and Electronics
- Zone 4: Door Panels and Seals
- Symptom-to-Cause Lookup
- Why Framingham Doors Fail Differently
- The Red Cord Test: Your Best Diagnostic Tool
- Common Mistakes to Avoid
- When to Call a Professional
The Four-Zone Diagnostic Framework
Before you touch anything, localize the problem. Nearly every garage door failure in Framingham traces back to one of four systems, and each one has its own sounds, symptoms, and safe handling rules. Sorting your door into a zone takes about two minutes of listening and watching, and it tells you immediately whether you’re looking at a five-minute adjustment or a job for someone with the right tools.
Here’s how the four zones break down:
- Zone 1, springs and cables: the counterweight system. A torsion spring above the door or extension springs along the sides. When these fail, the door becomes dangerously heavy or slams shut. High-risk zone.
- Zone 2, tracks and hardware: the vertical and horizontal rails, rollers, hinges, and bottom bracket. When these fail, the door binds, jumps, or comes off its path. Mostly safe to inspect and clean.
- Zone 3, opener and electronics: the motor unit, wall button, remotes, safety sensors, logic board, and drive mechanism. When these fail, the door stops responding or reverses for no obvious reason. Often safe to reset and adjust.
- Zone 4, door panels and seals: the door itself. Dents, cracked panels, rotted bottom seals, and fading finish. Safe to inspect; cosmetic and weather-sealing work.
Once you’ve named the zone, the next section walks through how each one behaves and what to check. For an overview of the services we offer across all four, see Framingham Garage Door Repair Pros.
Zone 1: Springs and Cables
If your door suddenly feels like it weighs three times what it did yesterday, or if you heard a loud bang from the garage, you’re in Zone 1. Torsion springs above the door store enormous energy to counterbalance the door’s weight. When one snaps, that energy releases all at once, which is why the failure sounds like a gunshot from inside the house. Cables run the length of the springs and hold the whole system together.
Signs you’re dealing with a spring or cable problem:
- A loud pop or bang, followed by a door that won’t lift
- A visible gap in the torsion spring coil above the door
- A door that opens a few inches then stops, or drops hard when the opener releases
- A cable that has come off its drum, frayed, or gone slack
- An opener that strains, grinds, or gives up partway through the cycle
Safety caveat: do not attempt to adjust spring tension, loosen the set screws on the torsion tube, or rewind a cable. Torsion springs are under enough tension to cause severe injury, and cables can snap back with similar force. Our technicians have up to 12 years of experience with this exact job, and it’s still the one where we slow down and double-check every step. What you can safely do is note which spring is on your door (torsion or extension), look at it from a distance without touching it, and call for a trained hand. Spring replacement is one of the highest-risk tasks in the trade, which is why it’s a service we call out specifically rather than tuck under general repair. If you need this sorted on your own door, start with garage door repair and mention the spring symptom so the tech brings the right parts.
Zone 2: Tracks and Hardware
If your door moves but complains about it, you’re likely in Zone 2. Tracks guide the door along its path; rollers sit inside the tracks; hinges and bottom brackets tie the panels together. When any of these fail, the door doesn’t stop working, it just works badly. Noise, wobble, and binding are the classic signs.
What to check safely in this zone:
- Wipe down the inside of each track with a rag and a light cleaner. Don’t use heavy grease; it attracts grit and makes things worse.
- Look at each roller while the door is closed. A wobbly roller or one with a flat spot needs replacing.
- Run a level along the vertical tracks and look for kinks or dents. Even a small bend from a bump with the car will cause the door to bind.
- Check the bottom bracket area but do not touch the tension bolts. That bracket is connected to the cable.
- Lubricate hinges and rollers with a silicone or lithium spray, not oil.
Track alignment and roller replacement are jobs a careful homeowner can sometimes handle, but bent or misaligned tracks push panels out of square fast. If the door is binding hard or making metallic scraping sounds, let a trained technician look at it. We see more track damage in Framingham after a hard freeze than any other time of year, because ice heaves the concrete floor slightly and pulls the bottom edge of the door off its seal.
Zone 3: The Opener and Electronics
If the door is mechanically fine but the opener isn’t responding or reverses without reason, you’re in Zone 3. This is the largest zone for safe DIY checks, and the one homeowner fix where you can genuinely save a technician visit.
Start with these steps:
- Check the wall button. If it works but the remote doesn’t, you have a remote or receiver problem, not a motor problem.
- Look at the safety sensors at the bottom of each side of the track. If the small LED is blinking or dark, wipe the lens, check for a spider web or leaf, and make sure both are pointed at each other.
- Press the wall button to open, then watch the door. If it reverses after moving a foot or two, the force setting or a sticking track is usually the cause.
- Pull the manual release cord to disconnect the door from the opener. If the door slides smoothly by hand, the opener is the suspect. If it fights you, the door itself needs attention first.
- Adjust the force setting or limit switches per the opener manual. Most LiftMaster and Craftsman units have clear dials or buttons for this. Make small changes, one at a time.
- If the motor runs but the door doesn’t move, suspect a stripped gear, a snapped drive belt or chain, or a failed logic board. That’s a technician call.
We work on the major opener brands including LiftMaster, Chamberlain, Genie, Craftsman, and Raynor, so parts knowledge is rarely the bottleneck. For a focused walk-through of opener diagnostics, see garage door opener repair.
Zone 4: Door Panels and Seals
Cosmetic damage normally sits in Zone 4, but in Framingham a couple of these failures move past cosmetic quickly. A cracked bottom panel lets water in during a freeze-thaw cycle, and that water does real damage to the frame. A rotted bottom seal lets cold air and road grit into the garage and lifts the door off its weather seal, which then affects the opener’s force settings.
What to look at:
- Bottom seal: run a flat hand along the rubber at the base of the door. If it crumbles or leaves black on your finger, it’s time to replace it. In Framingham this is a common spring task after a long winter.
- Panels: dents push a panel out of alignment and can affect how the door tracks. A single-dented steel panel on a Wayne Dalton or Raynor door is sometimes replaceable without replacing the whole door.
- Finish: peeling paint or faded steel exposes the metal underneath. Once that starts, keeping the door painted slows any rust.
- Hinges and end stiles: check for cracks at the corners where the door takes the most flex.
If a panel is dented but the door runs straight, you have time. If the seal is bad or the finish is failing, act before the next winter. For new door work when a panel is beyond salvage, see garage door installation.
Symptom-to-Cause Lookup
Use this table to localize your problem before calling. Each symptom points to the zone that most often causes it.
- Loud bang followed by a dead door: Zone 1, almost always a snapped torsion spring. Call immediately.
- Grinding noise while the door travels: Zone 2, usually a dry roller, a bent track, or debris in the rail.
- Popping or creaking as the door opens: Zone 2 or 4, warped metal hinges or a panel rubbing, made worse by seasonal shrinking in cold weather.
- Slow travel, door crawls upward: Zone 1 or 3, weak spring or a force setting dialed too low.
- Partial open, then reverse: Zone 3, safety sensors blocked or force limit exceeded.
- Opens fine, won’t close: Zone 3, sensor misalignment or a down-limit switch out of position.
- Door moves in fits and starts: Zone 2, track bind, or a roller out of the rail.
- Remote won’t work, wall button does: Zone 3, remote battery, receiver, or a rolling-code pairing issue.
- Door won’t stay up when opened by hand: Zone 1, spring losing tension or a broken cable.
- Water on the garage floor after rain or melt: Zone 4, failed bottom seal.
When two or more symptoms overlap, trust the loudest one first. A door that bangs and then won’t move is a spring first, and the opener problems you notice afterward are often secondary.
Why Framingham Doors Fail Differently
Framingham’s climate does specific things to garage doors that don’t happen in, say, Phoenix or Miami. The two big drivers are freeze-thaw cycles and the wet spring and fall we get along the Sudbury River. If you live near the reservoir, or in any of the neighborhoods that run along Route 9 through town, your door sees a lot of moisture and temperature swing across a year.
The failures that show up most in Framingham:
- Bottom seal rot: winter road salt and standing meltwater work on the rubber seal all season. By March, a lot of seals have gone stiff and cracked.
- Track corrosion and binding: steel tracks pick up surface rust fast in wet weather, and grit from sanded roads gets pushed into the rollers. Both create drag that the opener has to fight.
- Panel warping: repeated heating and cooling pulls steel panels slightly out of shape. Hinges take the strain first, then the panels themselves.
- Opener strain: everything above makes the opener work harder, which shortens its life and forces the force setting up, which stresses the door more. The loop is real.
One adjustment that pays off in this climate: clean and lubricate the tracks and rollers each fall before the first hard freeze, and again after the last. It’s a 15-minute job and it pushes back on cable and spring failures caused by stuck hardware. Some areas of town also sit lower and hold more moisture after a storm, so if your garage floods a couple of times a year, replacing the bottom seal on schedule matters more than on a hilltop lot.
The Red Cord Test: Your Best Diagnostic Tool
The manual release cord (the red cord hanging from the opener carriage) does double duty. It’s a safety device and a diagnostic tool, and pulling it is the single fastest way to separate an opener problem from a door problem.
How to use it:
- Close the door and stand clear of the door’s path.
- Pull the red cord straight down. You’ll feel the carriage release.
- With the opener disconnected, lift the door about halfway by hand. A door in good balance moves with a light push and holds its position.
- Lower the door. It should slide down with controlled resistance, not slam.
- Reconnect the carriage by running the opener and letting it catch, or by following the release instructions in your manual.
What the result tells you:
- Door moves easily by hand, opener won’t run it: Zone 3. The opener, sensors, or limits are the problem.
- Door feels very heavy or drops on its own: Zone 1. A spring is broken or lost tension.
- Door binds or scrapes partway: Zone 2. The tracks or rollers need attention.
This is also why we ask customers to try the red cord before calling. It cuts the diagnostic time in half. Our technicians have up to 12 years of experience reading doors, and even we start with the red cord.
What a Homeowner Can Safely Fix Versus What Needs a Technician
The line isn’t about how handy you are. It’s about stored energy. Two adjustments are genuinely safe, two are genuinely not.
Safe for anyone:
- Limit switch adjustments on the opener (per the manual)
- Force settings on the opener (small, sequential changes)
- Cleaning and lightly lubricating the tracks and rollers
- Replacing the bottom seal on many doors
- Replacing remote batteries and re-pairing remotes
- Wiping safety sensor lenses and re-aligning sensor paths
Needs a trained technician:
- Torsion spring adjustment or replacement
- Cable re-winding or replacement
- Bottom bracket work when the cable is under tension
- Track realignment after a serious hit or accident
- Opener gear, logic board, and drive-train replacement
If the job is on the second list, do not improvise. We’ve seen what happens when a homeowner tries to release a torsion spring without the right winding bars, and it’s not a fixable mistake. Our service is a single trade for that reason: garage doors are the only thing we do, so the procedures and parts knowledge are specific.
How Much Does Garage Door Repair Cost in Framingham?
Typical garage door repair in Framingham runs from about $95 to $500 depending on the zone and the part. A sensor alignment or limit-switch tweak sits at the low end. A torsion spring replacement is usually in the $180 to $340 range per spring, and a matched pair is often replaced together, so a pair runs about twice that. Opener work, panel replacement, and track realignment vary by part. The written estimate you receive sets the final price.
Two things to know going in:
- Every price is quoted and agreed before any work starts. You don’t get a surprise invoice.
- Emergency service is a separate call. If a broken spring has left your car stuck inside or your door hanging open overnight, the emergency line is the right line to call, not the standard scheduling queue.
Framingham Garage Door Repair Pros offers free estimates on every job, including emergency repairs. Call (877) 665-1930 for an exact quote.
See the difference
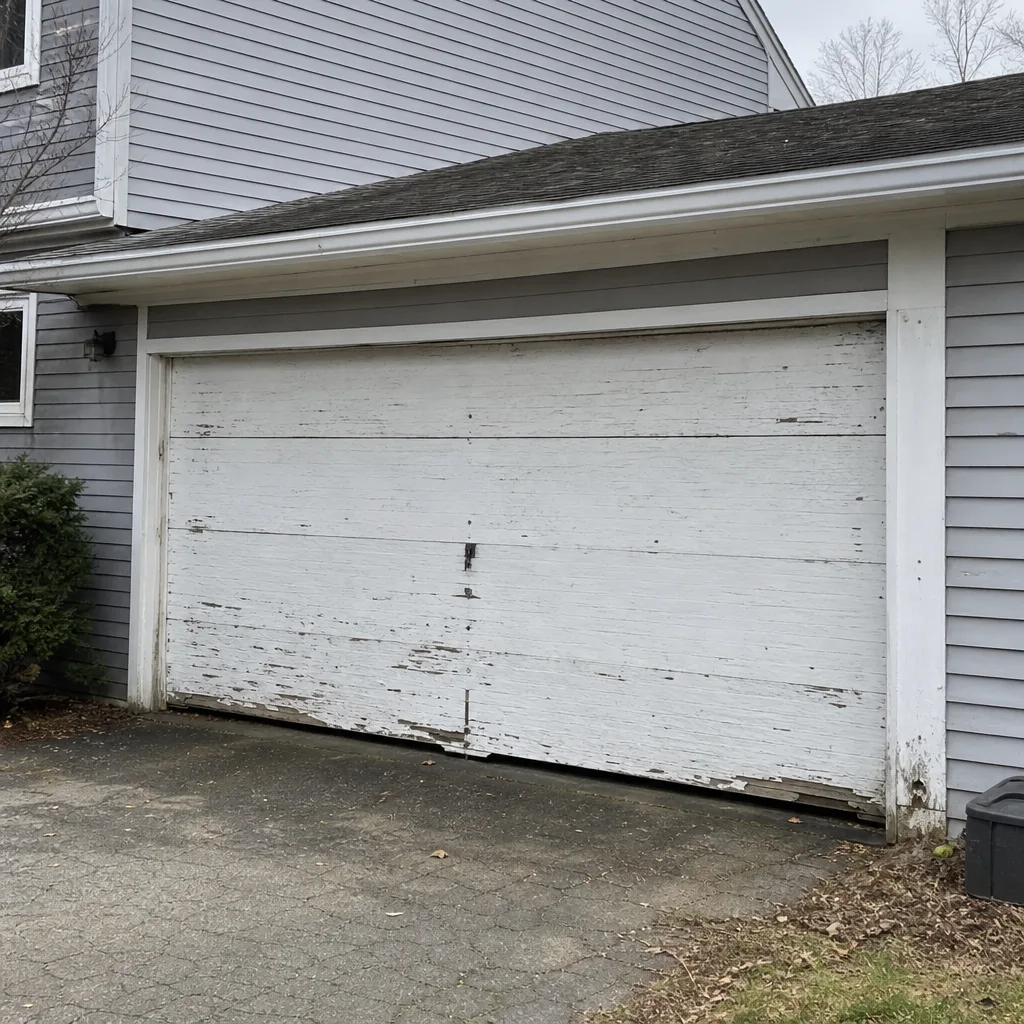 Before
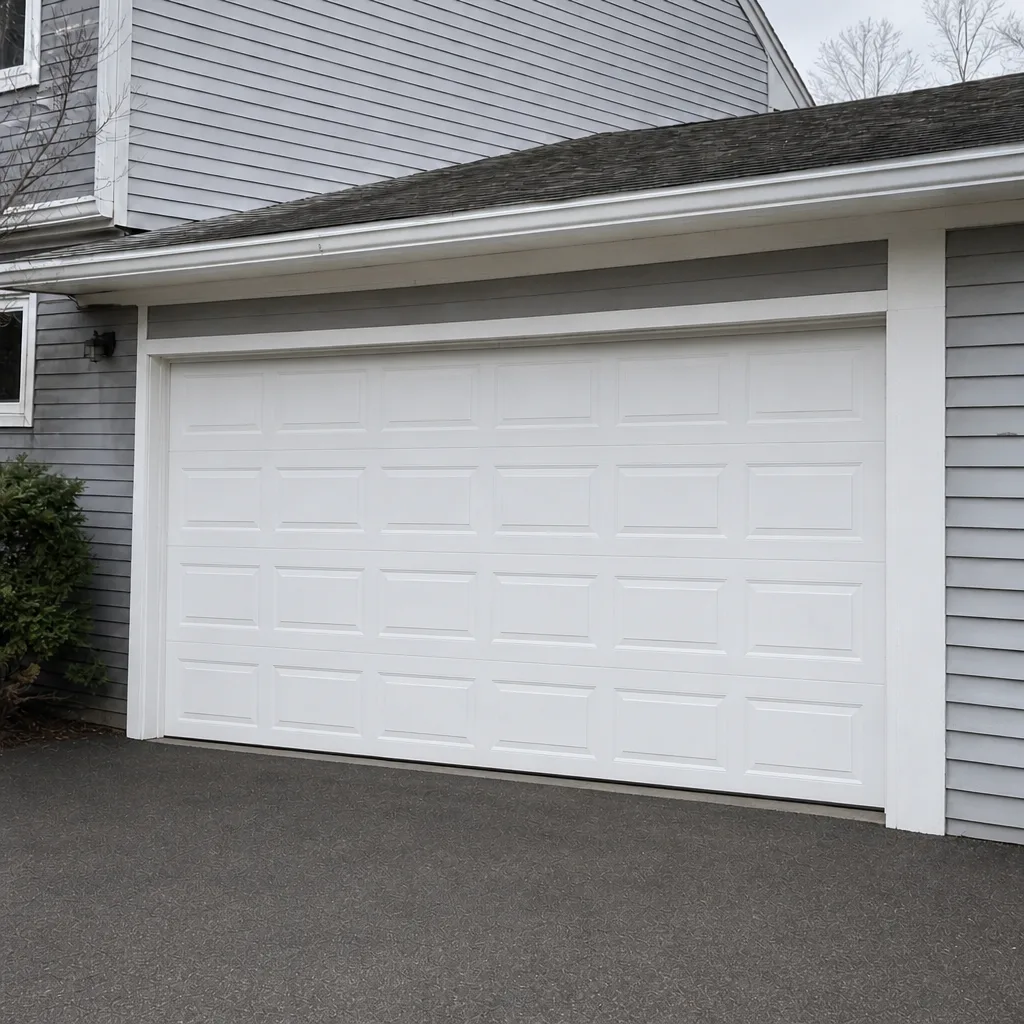 After
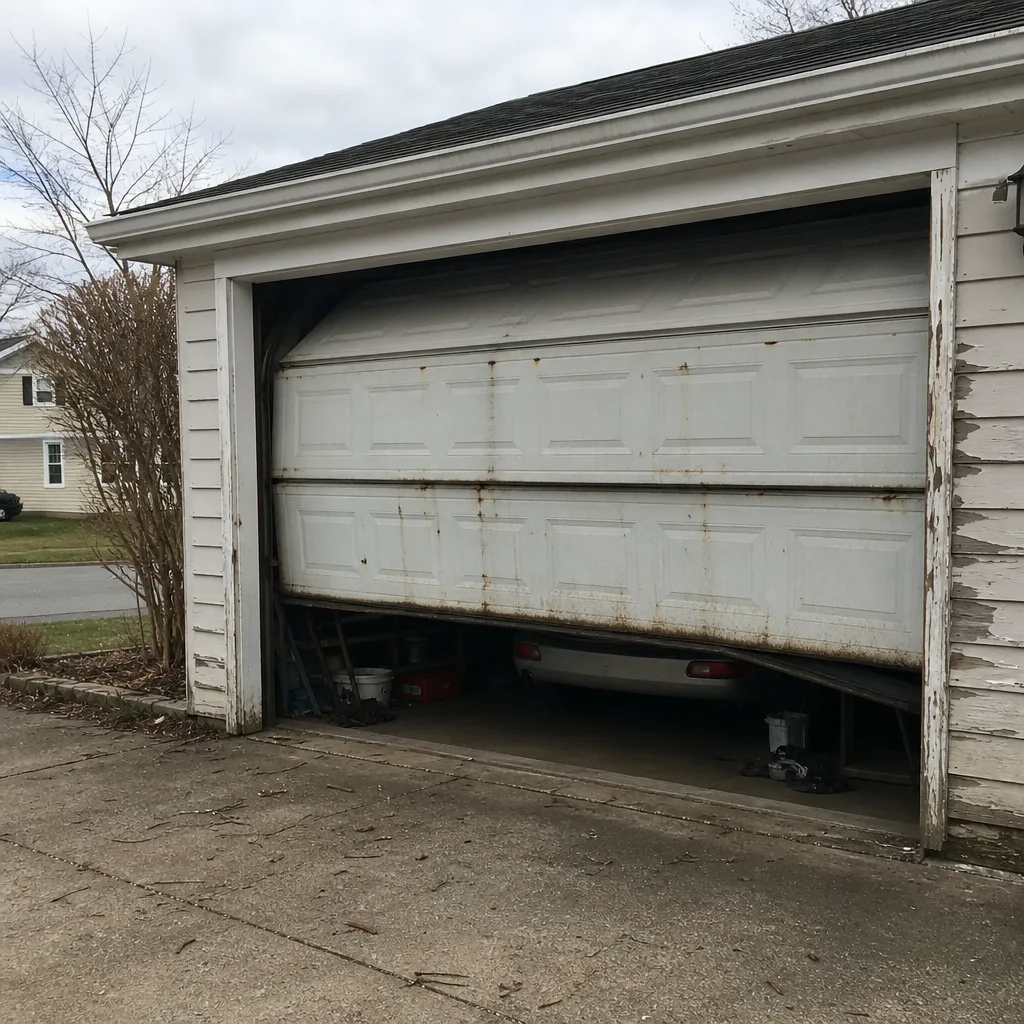 Before
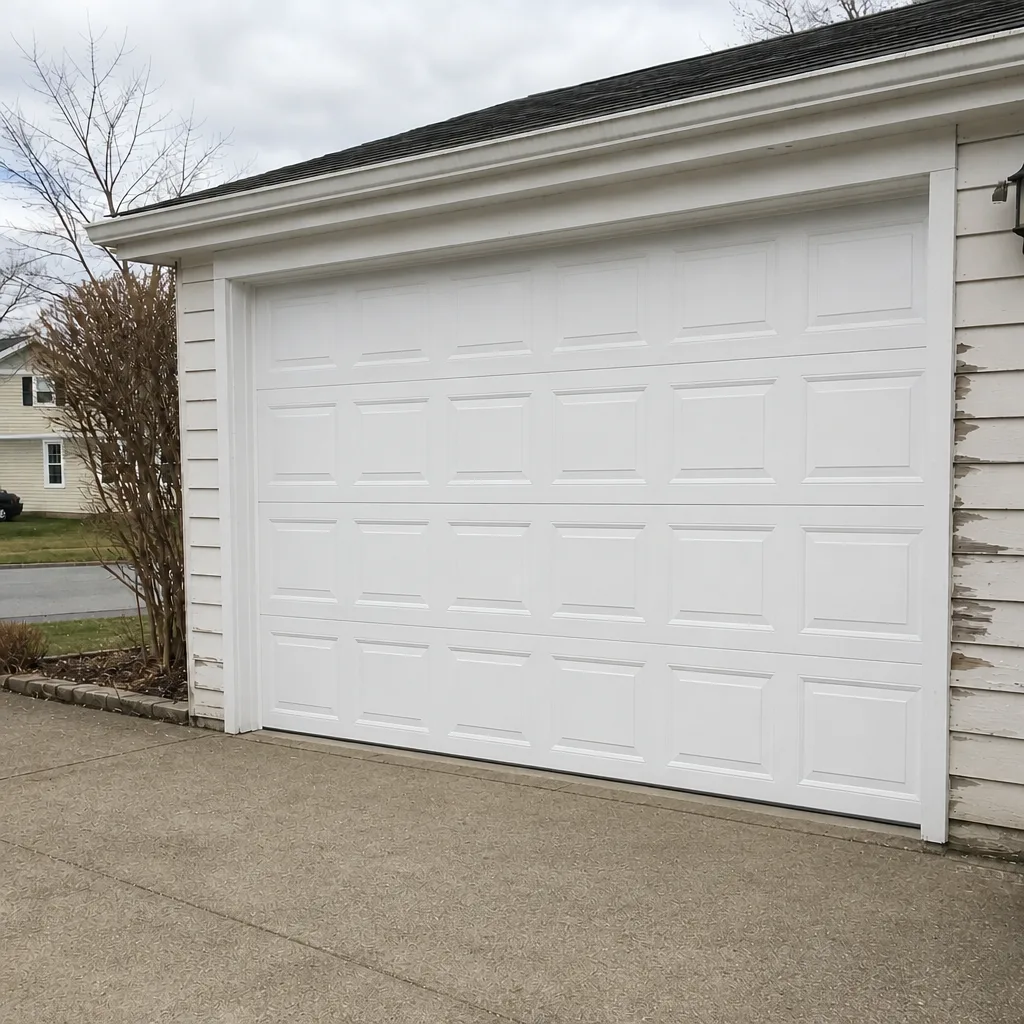 After
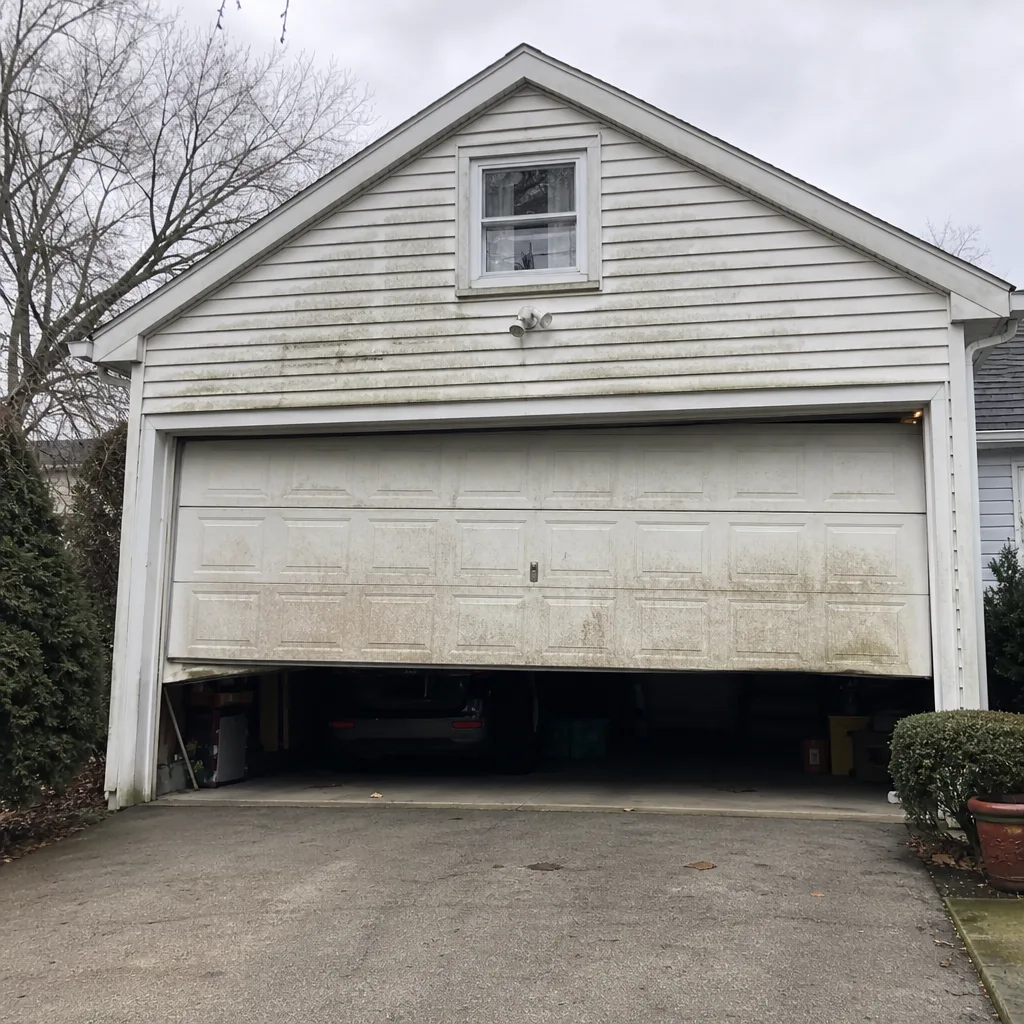 Before
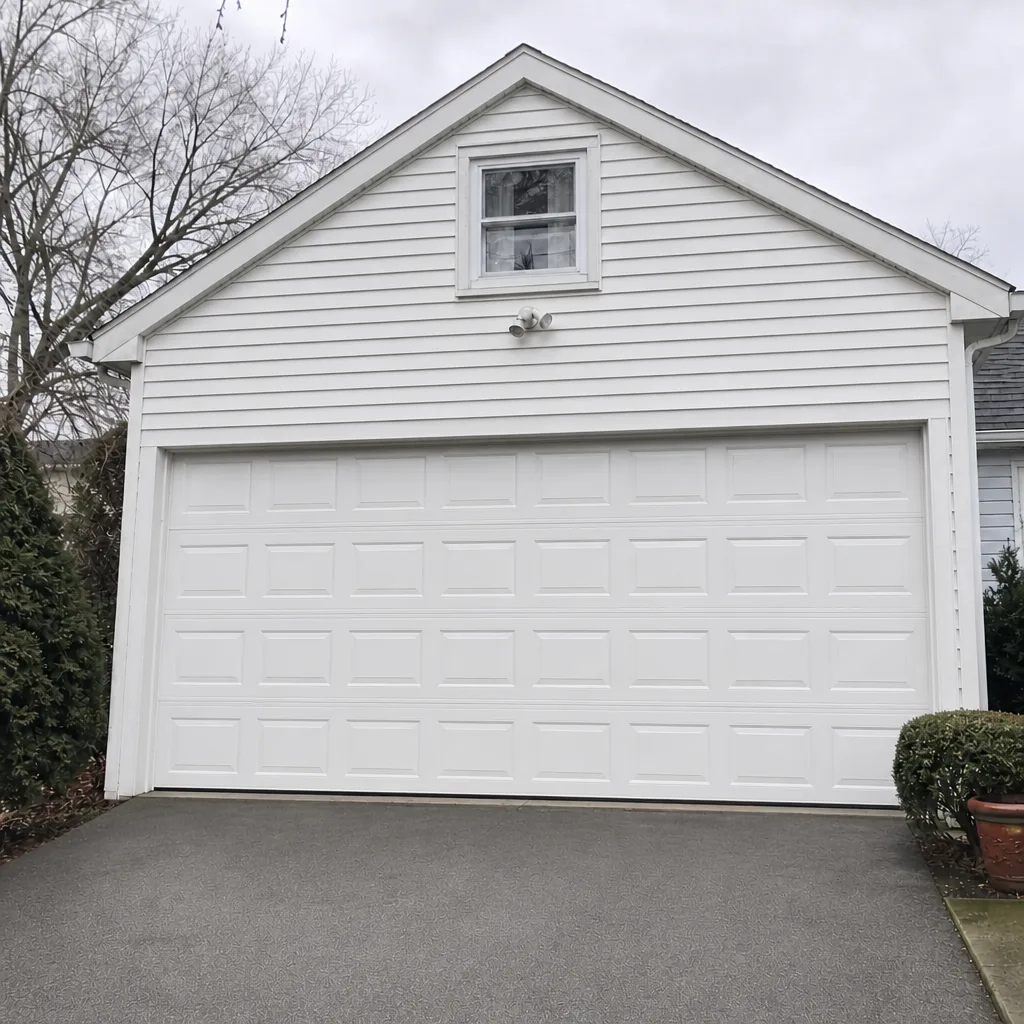 After
Common Mistakes to Avoid
- Spraying WD-40 or heavy grease on the tracks. WD-40 is a solvent, not a lubricant, and grease traps grit. Use silicone or lithium spray instead, and wipe the tracks clean first.
- Turning the force setting up to fix a slow door. If the door has become harder to move, the door needs attention, not the opener. Cranking force just strains the opener and hides the real problem.
- Pulling the door open by hand while the opener is still connected. You’ll strip the drive gear or snap the carriage. Always pull the red cord first.
- Ignoring a slow-opening door through the winter. In Framingham, a door that lags a little in January often fails completely by March because the problem was cold-stiff hardware, not the opener.
- Buying a replacement bottom seal from a big-box store without checking the door’s track type. Wayne Dalton and Raynor doors use specific seal profiles that don’t match a generic piece. Measure, then match.
- Letting a bent track sit for a season. A bend at the vertical track pulls the door out of square over time, and what would’ve been a five-minute fix becomes a panel replacement.
- DIY on a torsion spring after watching a video. The videos make it look simple. The spring stores enough energy to cause serious injury, and the winding bars needed aren’t household tools. This is the one job to always hand off.
When to Call a Professional
Call us if any of these are true: the door won’t open or close and you can’t identify a safe fix; you heard a bang and the door is now dead; a spring is visibly broken; a cable has come loose or looks slack; the door has come off its track; the opener is running but the door isn’t moving; or the door reverses repeatedly and no sensor adjustment fixes it. Call us urgently if the door is stuck open and the garage is exposed, if a car is trapped inside, or if the door is hanging at an angle.
When you’re not sure whether your issue is a safe DIY or a technician call, call anyway and describe it. Our technicians have up to 12 years of experience, work on the major brands including LiftMaster, Chamberlain, and Clopay, and we can usually tell over the phone whether it’s a quick visit or a two-minute fix you can handle yourself. Framingham Garage Door Repair Pros offers free estimates in Framingham – call (877) 665-1930.
Frequently Asked Questions
Most garage door repairs in Framingham run from about $95 to $500, with spring replacement typically in the $180 to $340 range per spring. A matched pair of springs costs about twice that because both are usually replaced together. Call (877) 665-1930 for an exact quote – estimates are free.
For a door that won’t close, wedged open, or stuck overnight, our emergency service line is the right call. We treat doors that leave the garage exposed as urgent, and we can usually get a technician out quickly. Call (877) 665-1930 and describe the symptom so we can send the right parts.
No. The written estimate is the price. We quote and agree before any work starts, and if we find something during the job that changes the scope, we stop and re-quote before continuing. You’ll never get an invoice larger than the estimate without a conversation first.
Yes. The local pros we connect you with are licensed and insured as their state requires. Our technicians specialize in garage doors only, which means the procedures and parts knowledge are focused on the specific challenges a garage door presents.
No. Torsion springs store enough energy to cause serious injury during adjustment or replacement, and the correct winding bars aren’t household tools. A visibly broken spring, or one that has lost tension, is a call-a-technician job. Call (877) 665-1930 and we’ll quote before we start.
Freeze-thaw cycles, road salt, and wet weather stress metal and rubber across a full season. The bottom seal cracks, track corrosion builds up, and the opener has to work harder to compensate. A fall tune-up (clean tracks, lubricate rollers, check seal) is the cheapest way to head off most winter failures, and if you skip it, be ready for a spring or seal call by February.
The Bottom Line
Most garage door problems are diagnosable in minutes if you start by naming the zone. Springs and cables carry stored energy, so never touch them. Tracks and hardware are mostly safe to inspect, clean, and lightly lubricate. The opener is where a thoughtful homeowner can safely adjust limit switches and force settings. Panels and seals are cosmetic until they let water in. The two safe adjustments are limit and force; the two hands-off ones are spring tension and cable winding. Pull the red cord first, listen to the symptom, match it to a zone, and call for help when the zone is Zone 1. In Framingham, our climate does the door no favors, so a fall tune-up is worth more than a spring emergency.
If you’ve checked the four zones and still aren’t sure, or if a symptom points to a spring or cable, call Framingham Garage Door Repair Pros at (877) 665-1930 for a free estimate. We work on the major opener and door brands including LiftMaster, Chamberlain, and Raynor, and garage doors are all we do.
Written by the team at Framingham Garage Door Repair Pros.